Recently on my post Types of 'Read More' option in blogger blogs I had discussed that the Automatic Read More option uses a javascript and needs you to host it. Now we will do some trick to let our script embedded directly to our template that makes the script no need to host.
What is the advantages of doing this trick? It saves our time to upload the script to our hosting account. Also, because the script is not hosted, it speeds up the page load of our blog. Does it means if I hosted the script my blog will run slow? No, this is only for a prevention. Why? It sometimes happen (the slow loading) when the host is some kind of busy like doing maintenance and some other related issues.
How to do this trick? Just follow the instructions below: (FireFox Mozilla is the browser that was used in the illustrated images below)
- In your Dashboard, go to your template Layout, click to Edit HTML.
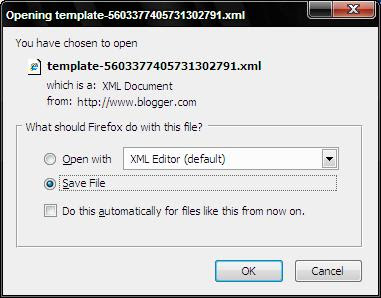
- IMPORTANT: Now before editing our Template, please make a backup of your template so if something wrong happen we can restore the original template just like it was before. To do this click the Download Full Template like illustrated below, (click the images below to enlarge)
- Now download the automatic-read-more-script+postbodycode.zip, extract it and open the text file.
- Then search the following codes in your template, don't forget to expand your template. For easy search press Ctrl + F in your keyboard and type the code below (the </head> or <body>) and press enter.
- When you find it, copy the script below the Automatic Read More Script: in the automatic-read-more-script+posrbodycode.txt text file that you opened and paste it between the </head> and <body>.
- Then again search following codes below. For easy search press Ctrl + F and type the code below (I recommend the <data:post.body/>) and press enter. <div class='post-header-line-1'/> <div class='post-body entry-content'> <data:post.body/> <div style='clear: both;'/> <!-- clear for photos floats --> </div>
- When you find it replace the red highlighted code with the codes below the Post Body Code: in the automatic-read-more-script+posrbodycode.txt
- Now Save your template and your done.
 and Save.

</head>
<body>
For the preview of what the automatic read more option that we just added look like check this blog homepage.
You can also customize the size of the image thumbnails and how long the summary of your article will appear on your homepage. Just search our script that we embedded and find the couple of codes below and change the number highlighted in green for the image thumbnails size and the number highlighted in blue for the length of article summary for whatever would you like.
</script>
<script type='text/javascript'>
var thumbnail_mode = "float" ;
summary_noimg = 390;
summary_img = 390;
img_thumb_height = 120;
img_thumb_width = 120;
</script>
<script type='text/javascript'>
var thumbnail_mode = "float" ;
summary_noimg = 390;
summary_img = 390;
img_thumb_height = 120;
img_thumb_width = 120;
</script>
If you have some expertise in editing CSS (short for Cascading Style Sheets) to change the appearance of the Read More option you can use the codes below:
a.readmore { /*your prepared style here*/ }


